Oiled up over summer

I’ve got warm memories of last year’s Christmas break, a good week of getting up late, barely getting dressed, eating trifle and ham leftovers (not together!) and playing Cyberpunk 2077 all day with the atmosphere of an inner city Melbourne revelling in leisure around me.

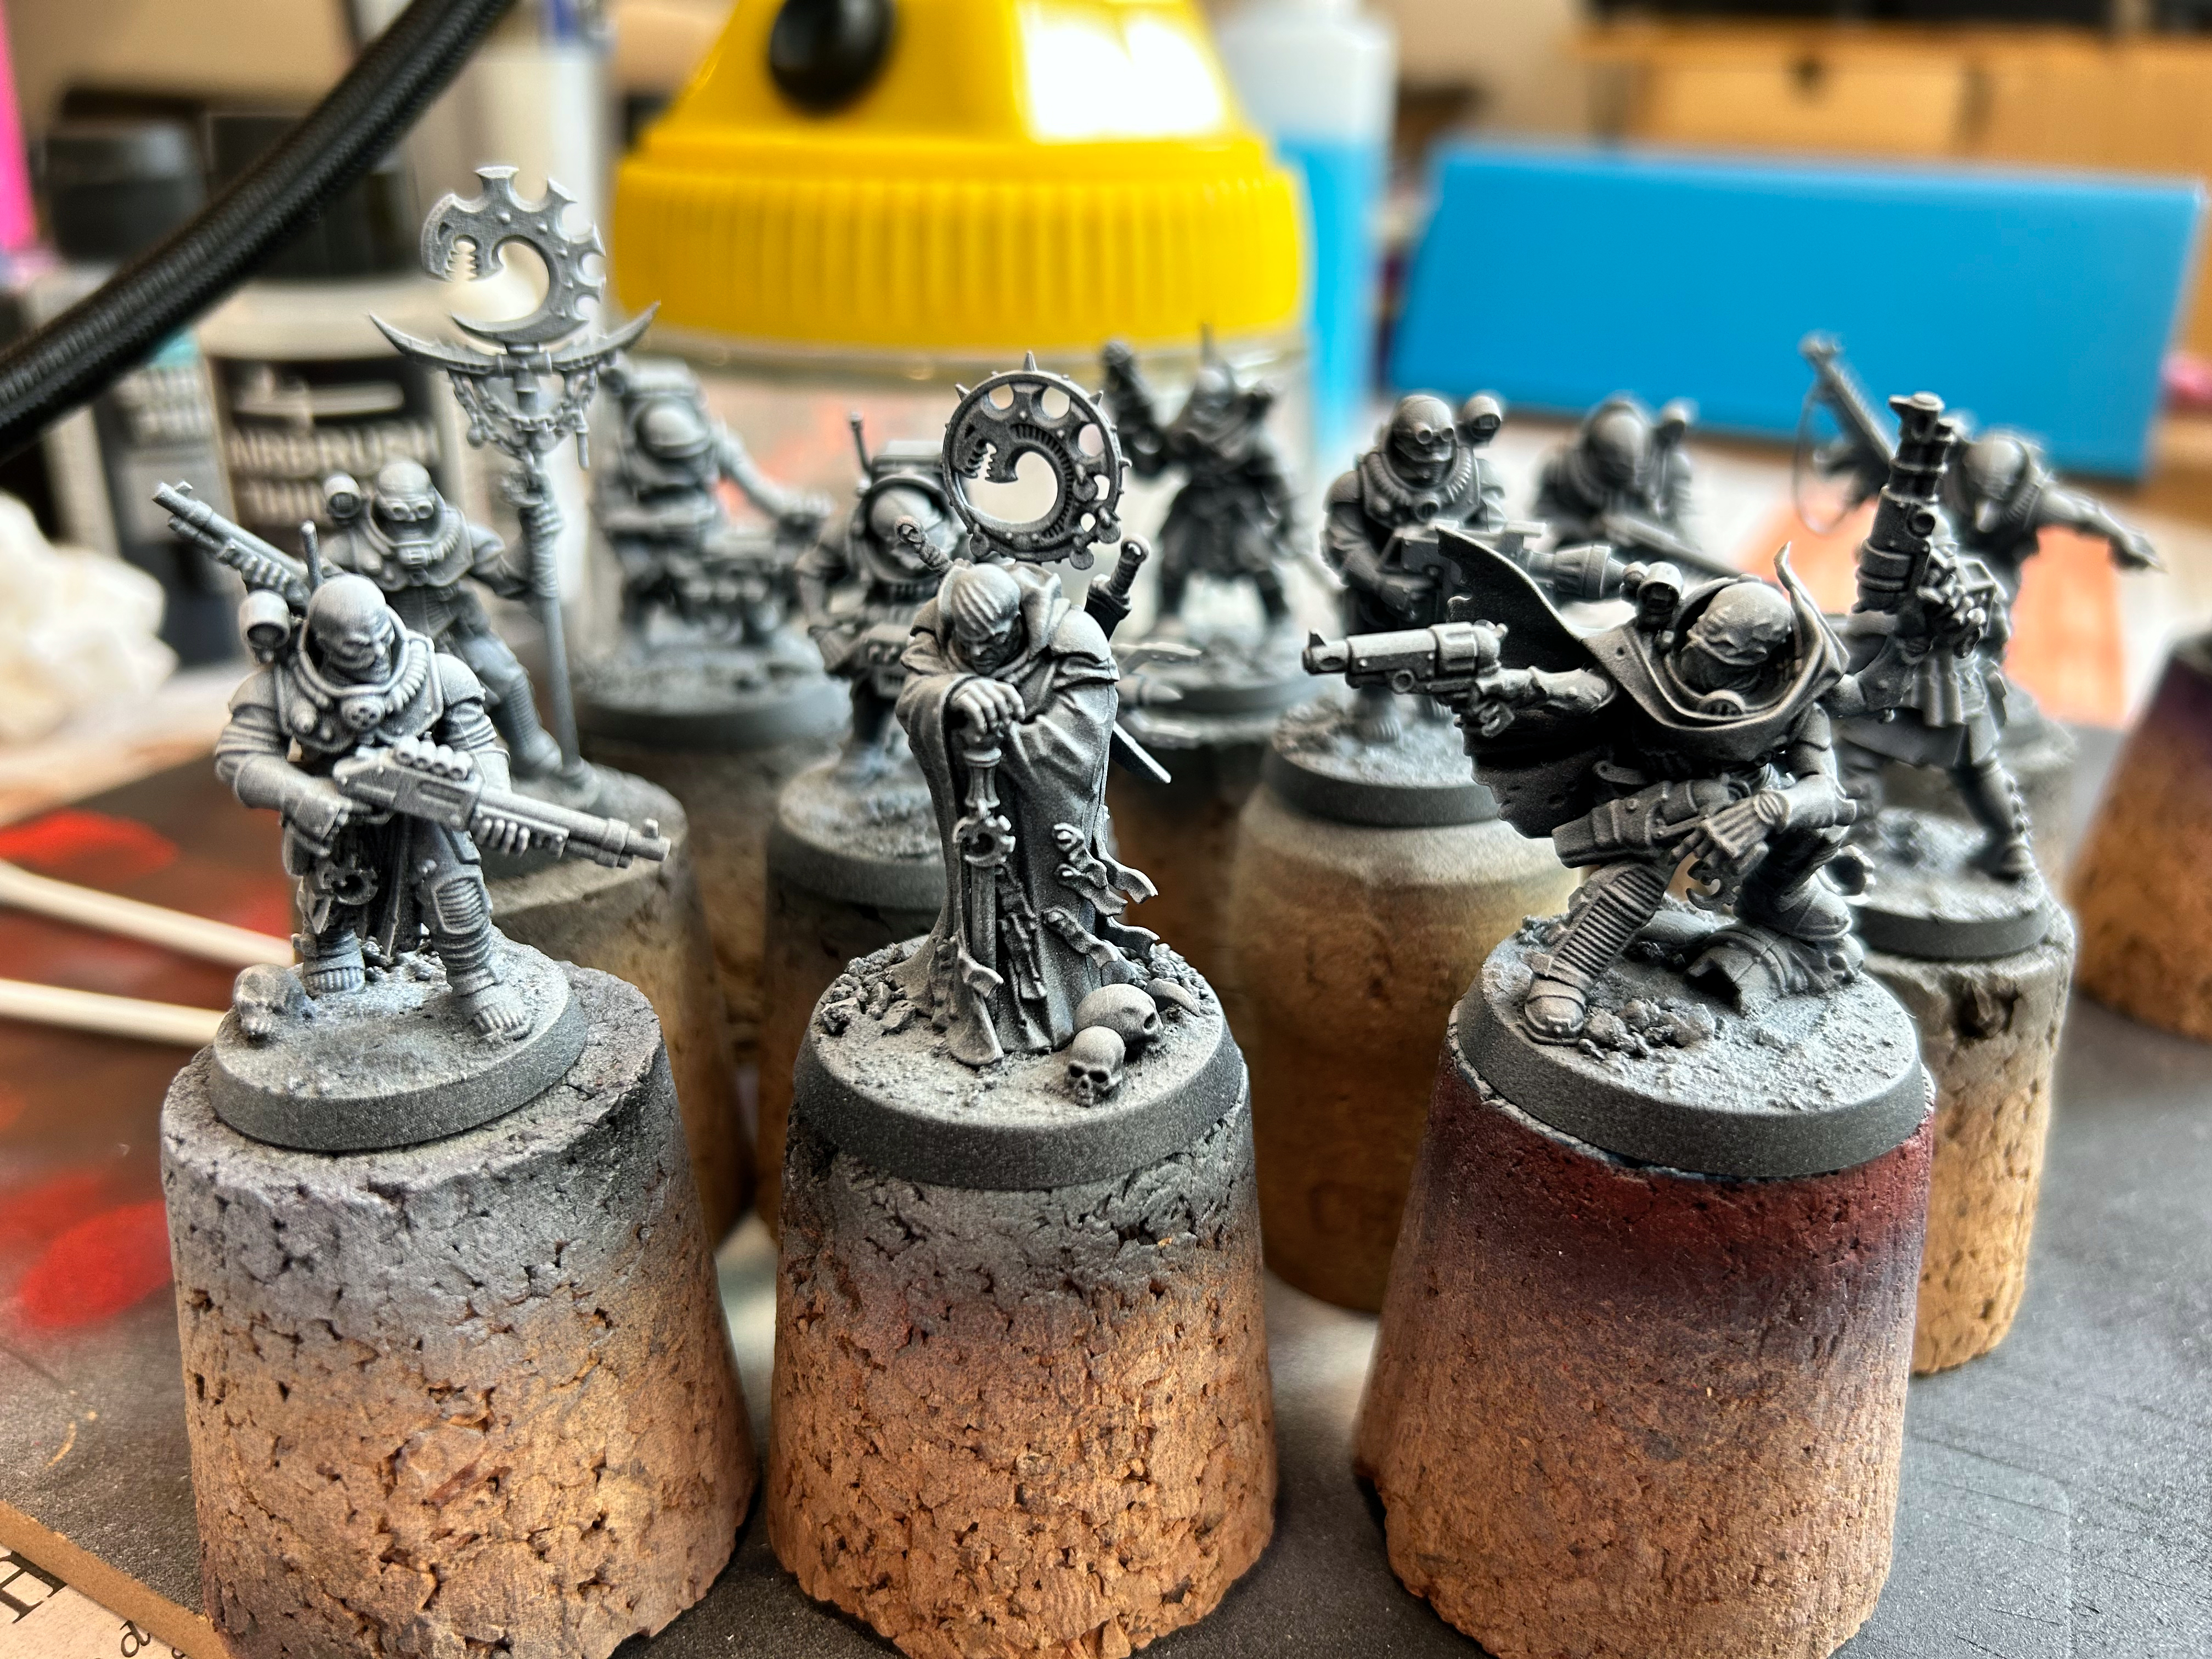
This summer break there’s been a bit less Cyberpunk and more hobby. I will try to make an annual tradition of completing a hobby project during my time off – without making it feel like work, and this year’s project is the Ork terrain from the Kill Team Octarius box set.

Fixer-upper in an ‘up and coming’ location. Make it yours today!

Thanks to Youtube I’ve seen many people extol the virtues of oil washes as a way of applying rich definition to miniatures and more particularly terrain pieces. Compared to a product such as a GW wash, they are much, much cheaper and have a flexibility (you have to mix them yourself) not afforded by a pre-mixed product. You can also re-activate them while they’re curing to wipe off excess wash and fine tune the amount of tone they apply.

Offsetting these benefits are a few drawbacks. Hydrocarbon based products are messier, smellier and more toxic than water based ones. They can also dry a little bit glossy – although this depends on the mineral spirit/thinner that is employed. The drying time is great for the aforementioned wiping, but I had to leave my terrain for over 48 hours before spraying it with a matt varnish.

Overall though, I think the benefits are more than worth the hassle and I will be using them frequently for large scale paint jobs.

The Wyrmblade advances warily through a deserted town square

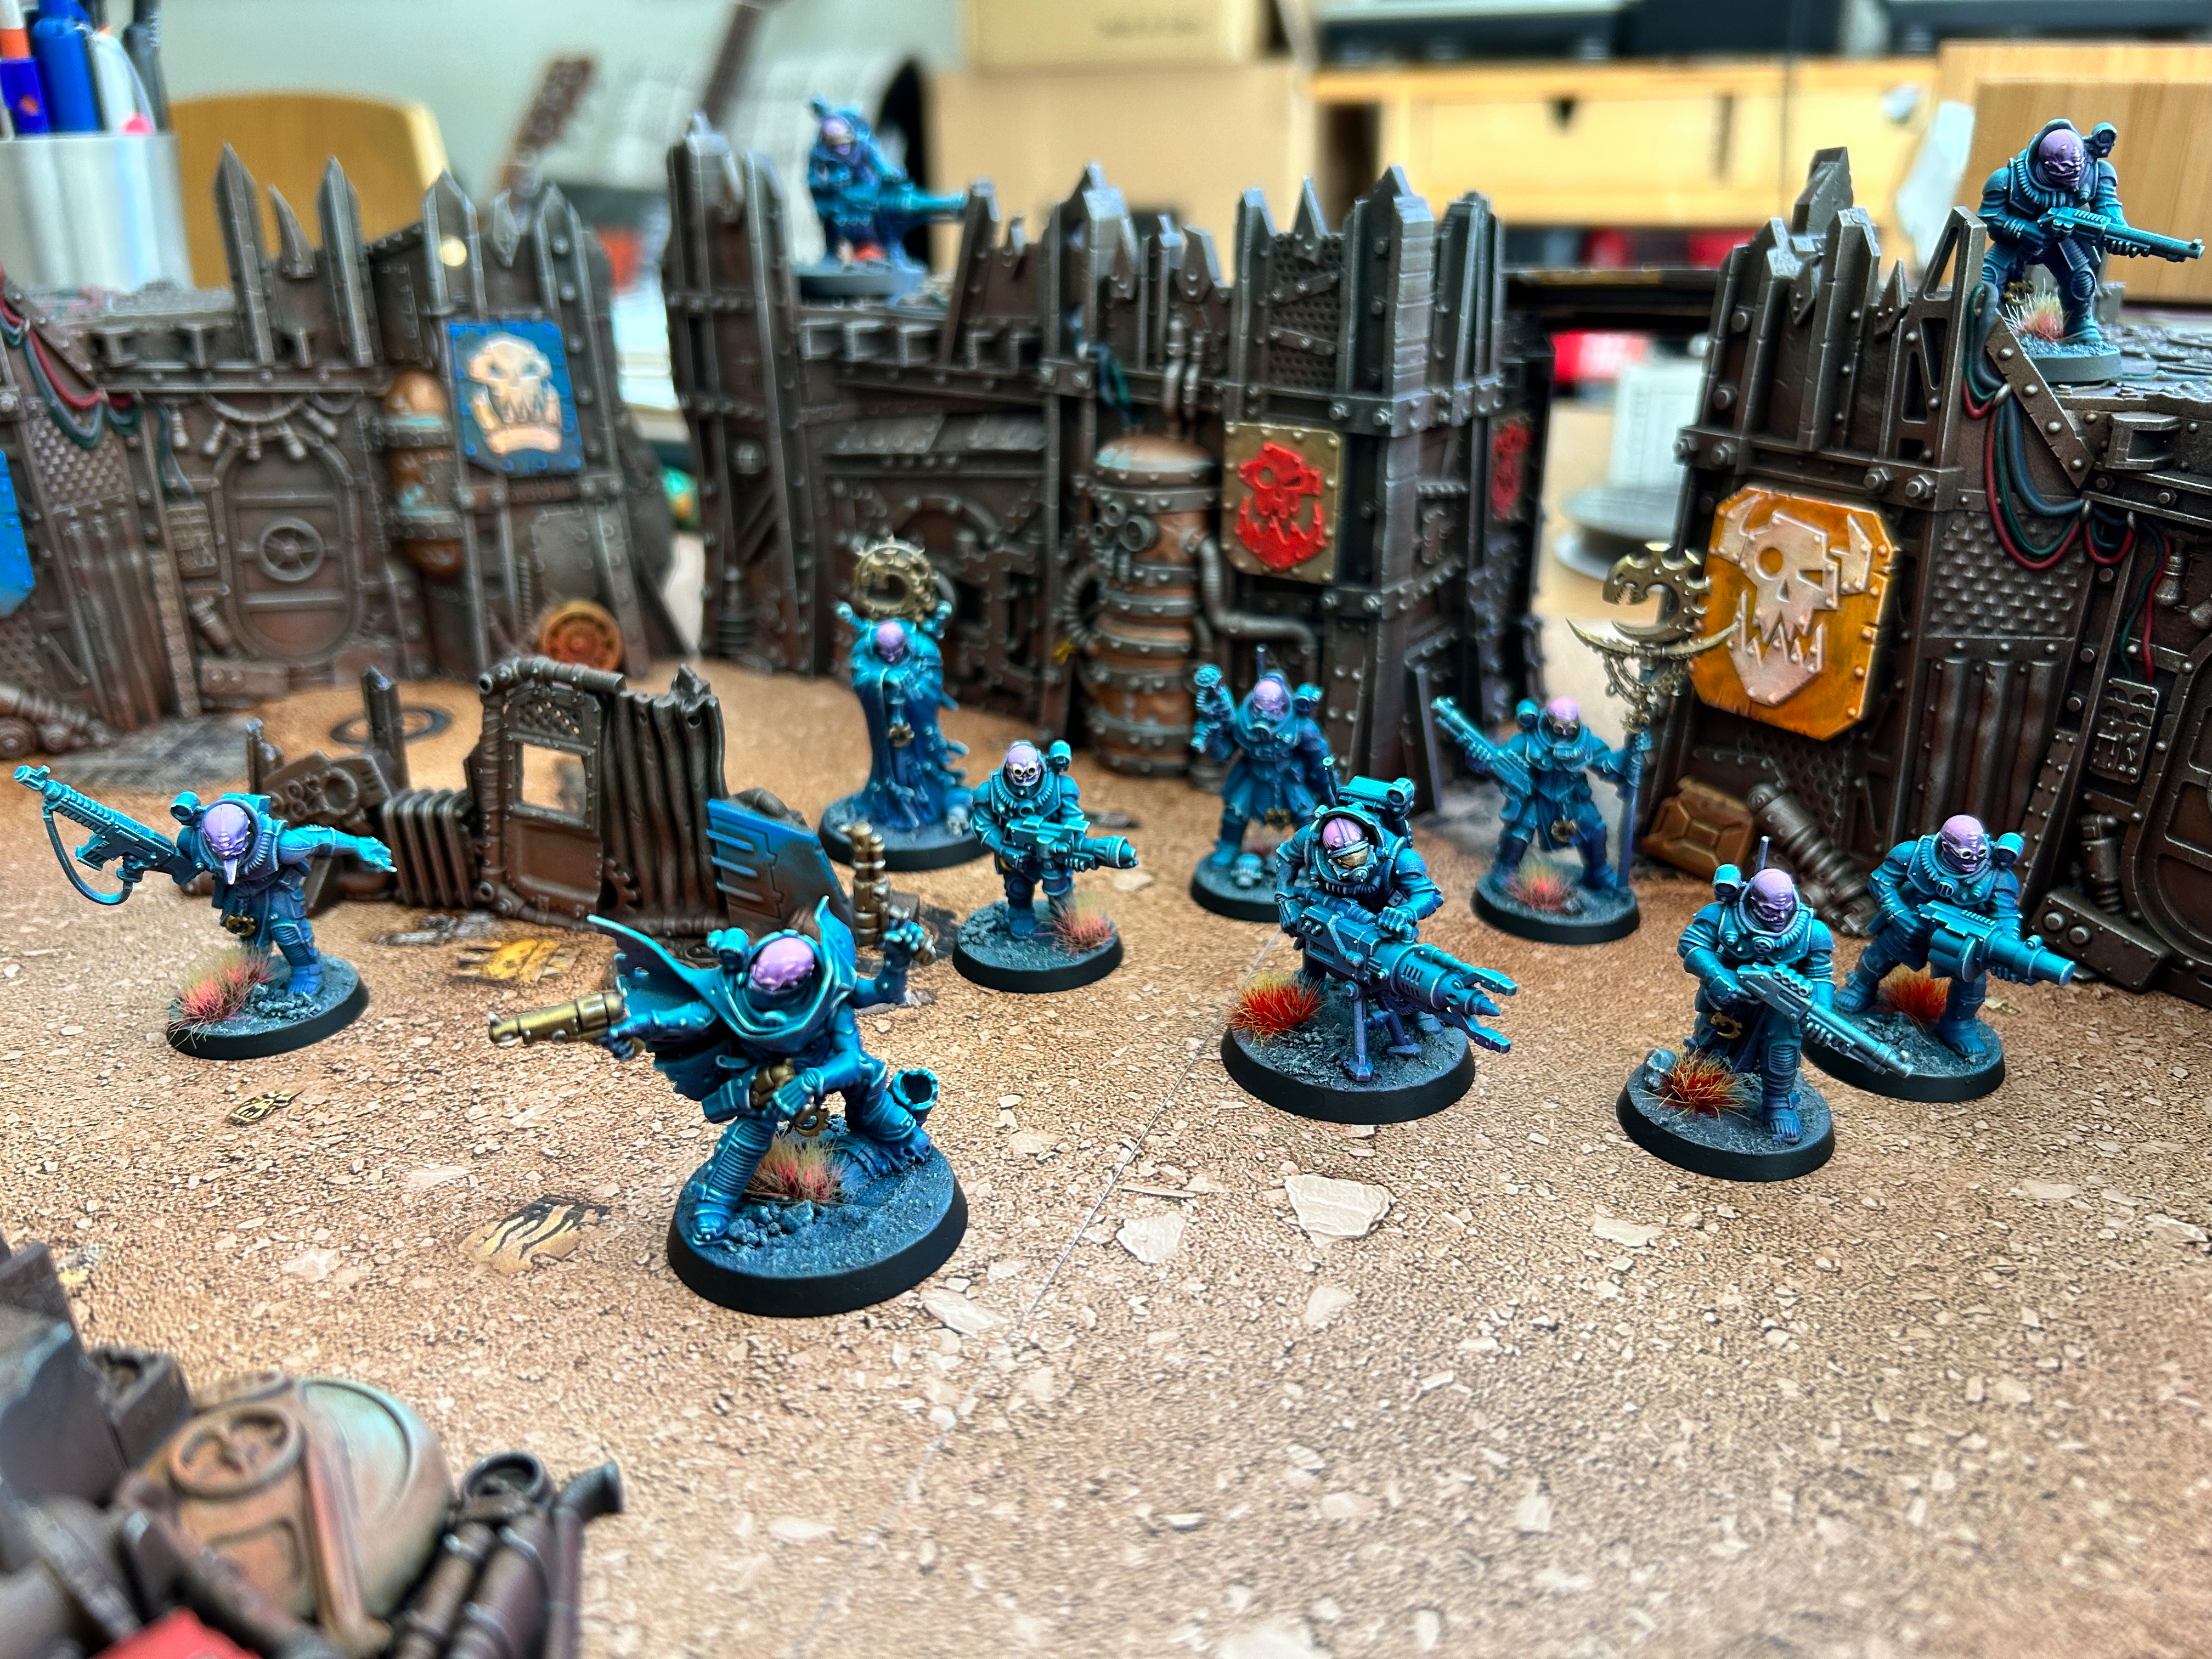
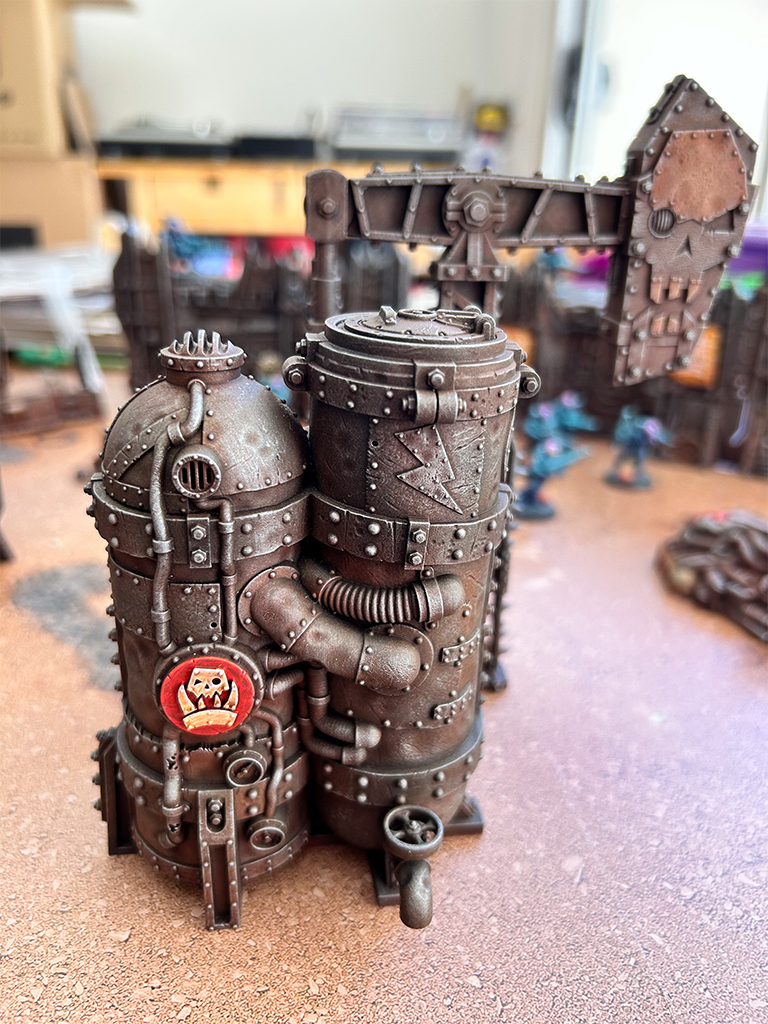
The ‘problem’ with these terrain pieces is that they’re so fantastically detailed. It took some effort to not paint all the details individually. I’d still be in the process – or more likely have just burned out and moved onto something else. So good on me for having the maturity to leave a lot of detail as ‘rusty steel’!

There’s gold in them thar scatter terrain. Not really, just rusty crap.
One stop oil pump and refinery. Clever boyz.

Preparation
Chaos Black spray
Airbrush Leadbelcher zenithal (sort of)

Rusty Steel
Airbrush Vallejo Air Brown RLM26
Airbrush VMC Amaranth Red
Oil wash Windsor and Newton Winton Burnt Umber ‘pea size’ : 6ml of Mineral Spirit
…drying time…
Drybrush Leadbelcher
Light drybrush of Runefang steel

All the elements get the wash, not just the steel but I won’t go into them. The whole set needs more than 6ml of wash – probably closer to 30ml but that is the ratio.

Cracking the code

So I’ve been getting into Kill Team (KT) lately. And by ‘getting into’ I mean assembling and painting some of the minis that I’ve had on sprues for the three KT boxes I’ve accumulated over the years. I’ve always been attracted to the small scale skirmish game but never had the energy or impetus to get moving on it.

One of my biggest hobby conundrums has been ‘how to quickly get many minis painted to a standard that I can accept’ for gaming. I am a sporadic painter, with a fair old streak of perfectionism that limits my ability to get things done. Not traits or habits conducive to getting an army or even a squad completed.

This Genestealer Cult Wyrmblade Kill Team (feat. Kelermorph and Locus) took just over three days on and off painting to be completed, and frankly I love them. The secret it turns out, is under painting.

If you’ve been anywhere near Youtube mini painters lately you’ll have heard of ‘slap chop’ (look it up) and really all I have done is essentially, airbrush slap chop. I undercoat the model black, followed with a grey and then white zentihal highlight before finally dry brushing white over just the model’s edges. This is a really quick way of defining the model’s colour values with an overhead light source.

Once the values are done, I apply hues to the models via a very thin mix of paint 1:4 thinner. Glazes, essentially. For this unit, that meant firstly Xereus Purple from the bottom up (nadir) followed by Aethermatic Blue a GW Contrast colour from the zenith.

Because the airbrush lets you apply paint so sparingly and evenly, the transition between the turquoise and purple is so, so, smooth. It’s bordering on magical!

I masked off the heads and did them with a similar method, separately. I did a dry brush with pastel green over the model with a very, very unloaded brush to make sure just the very tips of the raised areas got covered, and then went over a few edges on each mini to add a bit of pop. That left just the gold areas, which I painted conventionally and that was it!

As much as this is my own method, Dana Howl’s underpainting and airbrush glazing videos are its undoubted genesis. Links at the bottom. They’re great!

I’m really excited to explore this way of painting further, it’s so fast and can deliver beautiful, vibrant miniatures that I’m proud to field on the table top.

The Kelermorph gun fighter, Neophyte Leader and his Locus bodyguard.

Heavy Gunners with seismic cannon and mining laser.

Gunners with flamer and grenade launch flank the team’s icon bearer.

Neophytes with shotguns and auto-guns.

And a shout out to the test models. I’ve found plastic mono-pose models that can be dunked in Dettol time and again invaluable for experimentation. This scheme would never have happened without these Blood Bowl linemen!

Underpainting (all models)
Vallejo Black Primer – airbrush
VMC French Mirage Blue – airbrush
Pro Acryl Titanium White – airbrush

Underpainting dry brush (body)
VMC White

Underpainting dry brush (weapons)
Scale75 Thrash Metal

Body (mask head prior)
GW Xereus Purple 1:4 Vallejo Airbrush Thinner – airbrush (spray upwards from nadir)
GW Aethermatic Blue – airbrush (spray down from zenith)
AK Pastel Green light drybrush
AK Pastel Green spot edge highlight

Head (mask around body prior)
VGC Rosa Pulpo (Squid Pink) 1:4 Vallejo Airbrush Thinner (spray down from zenith)
GW Druchii Violet 1:1 GW Lahmian Medium tint under areas of head
VGC Rosa Pulpo edge
GW Fulgrim Pink edge

Gold Detail (mask, insignia)
Scale75 Negro Gold base
GW Druchii Violet 1:1 GW Lahmian Medium wash
Vallejo Airbrush Polished Gold edge
Scale75 Speed Metal edge

Base
GW Nuln Oil wash
VMC Pale Blue drybrush

Bone details
AK Pale Sand drybrush/edge

Plastic diversions

After a fair tilt at painting lead, I felt like painting something a bit contemporary for a change.  The Adeptus Mechanicus have long been part of framework of the Warhammer 40k universe but remained largely a background entity until around 2015.  The idea of a machine cult that has gradually forgotten how the technology that it creates actually works over the millennia and devolved into a monastic priesthood of robots and cyborgs is immensely strange and extremely appealing!

I’d cogitated over a colour scheme for a little while – despite the flat out weird nature of the faction, GW schemes are by and large just red, or a red variant (it’s a Mars thing) which I really wanted to avoid.

I settled on a ‘demon hunter’ scheme, taking some inspiration from Hearthstone – starting with black and dark green, right up to a ‘fel’ yellow-green, This chap has an Arc Rifle, which I laboured over way too long trying to get it to ‘glow’.  I had more success with the visor and lamp lights, not too bad for first time at Object Sourced Lighting effects!  Fairly happy over all with what is an army grade paint job.


And the recipe so I can come back to these guys later:

Greatcoat

Airbrush Caliban Green, Airbrush P3 Iosan Green, Edge Moot Green

Greatcoat Trim

Moot Green, VGC  Livery Green

Armour

Base Scale75 Black Metal, Drybrush Runefang Steel, Wash Nuln Oil, Edge Scale75 Speed Metal

Bronze Trim

Warplock Bronze, Highlight Balthasar Gold

Pipes and Trousers

Basecoat Black, Highlight Dark Reaper, Drybrush Celestra Grey

Lights & Visor + OSL

50/50 Flash Gitz Yellow & VGC Livery Green

Arc Rifle

White + Nilakh Oxide over and over again